Are you neglecting to clean and dry your inflatable kayak properly? It’s time to reconsider! Maintaining the lifespan of your beloved inflatable kayak is crucial, and that means giving it the care it deserves. Failing to clean and dry your kayak correctly can lead to damage and even mold growth. So why risk compromising its longevity?
But how do you dry an inflatable kayak? After a thrilling day on the water, start by rinsing off any debris from your inflatable kayak using a cloth or hose. Once clean, it’s time to dry it thoroughly before storing it. Not only will you extend its lifespan, but you’ll also ensure optimal performance every time you hit the water. Don’t let laziness deflate your fun!
So let’s dive in and discover how to dry an inflatable kayak.
Contents
Why Is Proper Drying Important?
Properly drying your inflatable kayak is essential for several reasons. First of all, if you don’t dry it well, mold and mildew can grow, causing bad smells and possible health problems.
Also, leaving moisture inside the kayak during storage can damage the material over time, making it less durable.
Here are a few reasons why you need to dry your inflatable kayak properly:
To Prevent Mold And Mildew Growth
To Avoid Damage Caused By Moisture Accumulation
Leaving moisture inside your inflatable kayak when you store it can cause damage over time. It might weaken the material and make it less durable.
To Ensure A Safe And Hygienic Paddling Experience
Keeping your inflatable kayak dry is crucial for maintaining a safe and hygienic environment. Excess moisture can lead to slippery surfaces, increasing the risk of accidents while paddling.
Mold and mildew growth can cause respiratory issues or allergies, compromising your overall well-being.
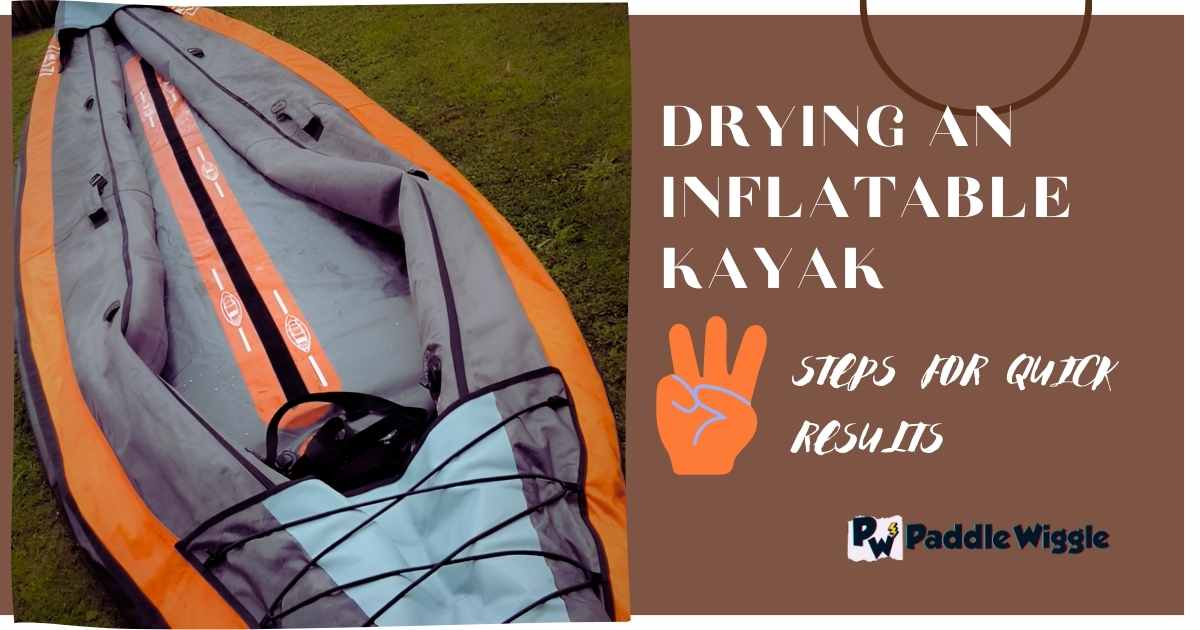
3 Easy Steps To Dry Your Inflatable Kayak
Properly drying your inflatable kayak is crucial to avoid moisture-related issues. Here are 3 steps for quickly drying an inflatable kayak:
Step 1: Remove Excess Water

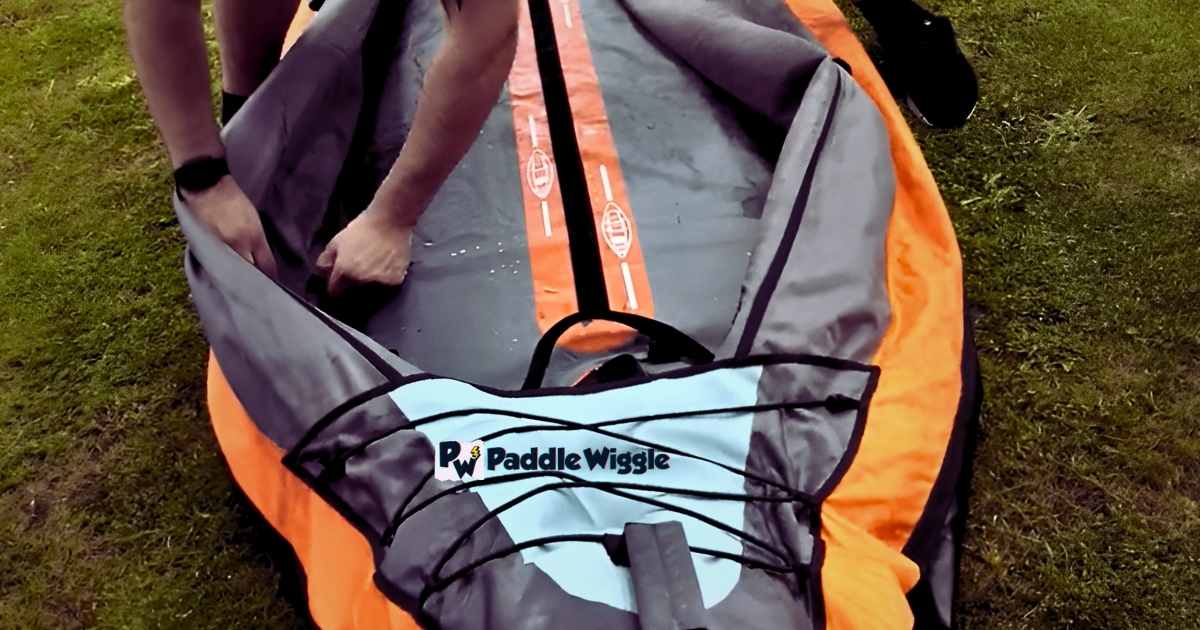
Before storing your inflatable kayak, it’s essential to get rid of any leftover water on its surface. You can do this easily with a towel or a sponge.
Take a dry towel or a sponge and gently wipe the entire surface of the kayak. Make sure to cover all areas, including the corners and edges.
Removing the excess water prevents any moisture from causing issues during storage. Keeping the kayak dry helps avoid problems like mold or damage to the material.
Step 2: Air Dry
Once you’ve removed the excess water, its letting your inflatable kayak dry thoroughly is crucial. Air drying is the best way to achieve this. It removes all the moisture, preventing issues like mold, mildew, or material damage during storage.
Here’s a more detailed explanation of how to air-dry your kayak:
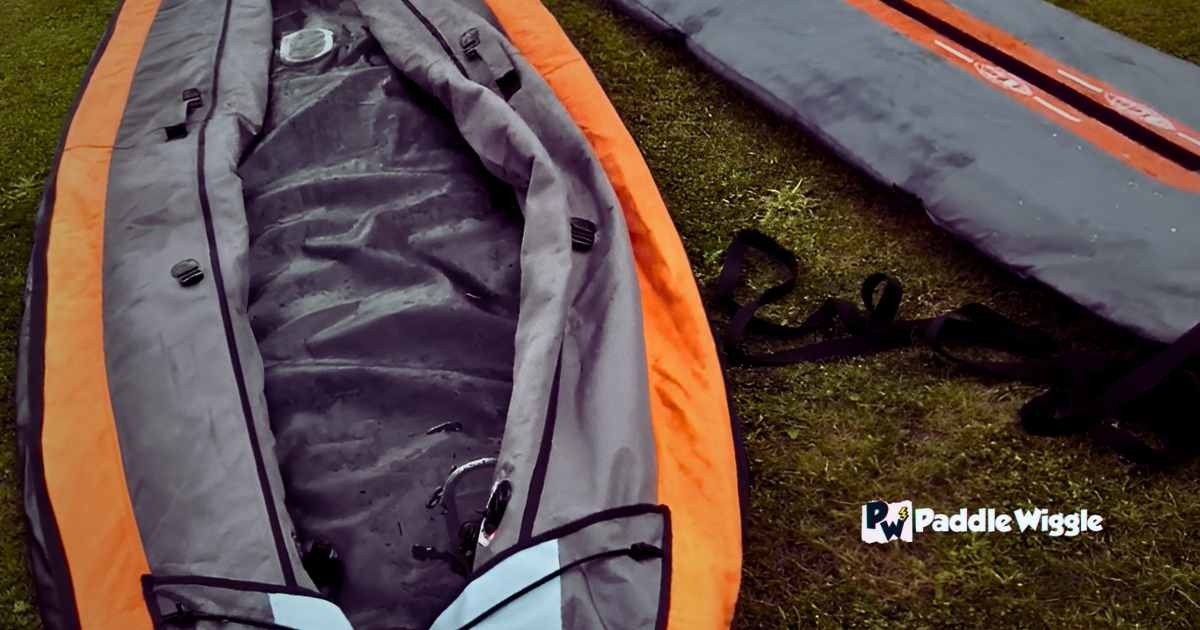
Partially Inflate
After cleaning your kayak and wiping off the water, inflate it partially. The idea is to give it some shape and structure without fully inflating it, like when you use it in the water.
Partial inflation ensures that the kayak maintains its form while it dries, avoiding any unnecessary creases or wrinkles.
Choose The Right Spot
Find a suitable area for drying your kayak. Look for a place with good ventilation, meaning there should be enough air movement to help the water evaporate.
A shaded spot away from direct sunlight is ideal, as prolonged exposure to the sun’s rays can be harmful to the kayak’s material. A garage, a covered patio, or any well-ventilated indoor space can also work.
Allow Both Sides To Dry
For even drying, its exposing both sides of the kayak to the air is essential. If you placed the kayak on the ground initially, remember to flip it over after some time so the other side gets a chance to dry too.
Be Patient
Air drying might take some time, depending on the weather conditions and the amount of water on the kayak. Be patient and give it enough time to dry completely before storing it away.
Step 3: Check For Moisture
Before storing your inflatable kayak, it’s crucial to ensure no moisture is left on any part of its surface. Moisture can cause problems like mold or damage over time, even in small amounts. Here’s how to check for moisture:
Feel For Wetness
Run your hand along the surface of the kayak, feeling for any damp spots. Pay close attention to areas where water might collect, like folds or creases.
Look For Water Beads
If there’s still moisture present, you might see small water beads on the kayak’s surface. These are a clear sign that it’s not completely dry yet.
Use A Dry Cloth
Use a dry cloth or towel to absorb the remaining moisture if you find any wet areas or water beads. Wipe down the surface until it feels dry to the touch.
Achieving The Right Level Of Dryness For Your Kayak
Achieving the right level of dryness is crucial. Properly drying your kayak helps prevent damage and ensures you can enjoy many more adventures on the water.
Ensure All Surfaces Are Completely Dry Before Storing
Before storing your kayak, it’s important to ensure that all surfaces, including the seams, are completely dry. This step is vital because any moisture left behind can lead to mold or mildew growth over time. To begin this process, deflate your kayak and allow it to air dry in a well-ventilated area.
Once the majority of the excess water has evaporated, take a towel or sponge and carefully wipe down all surfaces of the kayak. Pay close attention to areas where water might accumulate, such as pockets or crevices. By thoroughly drying these hidden spots, you can prevent any potential damage caused by lingering moisture.
Use A Towel Or Sponge To Remove Any Remaining Moisture

After allowing your kayak to air dry for a sufficient amount of time, some residual moisture may still be on its surface. Use a towel or sponge to remove any remaining moisture to ensure that every part of your kayak is properly dried before storage.
Gently run the towel along the hull and floor of your kayak, absorbing any last traces of water. Be sure to check under seats and inside compartments as well. Taking these extra steps will help maintain the integrity of your inflatable kayak and prolong its lifespan.
Pay Attention To Hidden Areas
While drying off visible surfaces is important, paying attention to hidden areas where water might accumulate within your inflatable kayak is equally crucial. These pockets or crevices can easily trap moisture, leading to potential damage if not properly dried.
To tackle these hidden areas, use a towel or sponge to reach into tight spots and ensure they are completely dry. You can even use a small fan on a low setting to help expedite the drying process in hard-to-reach areas. By taking these extra precautions, you can rest assured that every part of your kayak is thoroughly dry and ready for storage.
Common Mistakes To Avoid When Drying An Inflatable Kayak
Drying your inflatable kayak might seem easy, but people often make some mistakes. To keep your kayak in great shape and have a safe paddling experience, it’s avoiding these errors is essential.
Let’s check out the most common ones to avoid:
Don’t Rush The Drying Process
Drying your inflatable kayak thoroughly is crucial to prevent mold, mildew, and damage to the material. One common mistake that many people make is rushing the drying process. It’s important not to cut corners and take the time needed to ensure your kayak is completely dry.
To properly dry your inflatable kayak, start by wiping down the exterior with a clean towel or cloth to remove any excess water. Then, open all valves and let any trapped moisture inside the kayak escape. This step is often overlooked but is essential for thorough drying.
Next, find a well-ventilated area where you can hang or lay out your kayak. Ideally, choose a spot away from direct sunlight, as excessive heat can damage the material over time. Hanging your kayak with straps or laying it flat on a clean surface are both effective methods for drying.
If you’re in a hurry and tempted to use artificial heat sources like hairdryers or heaters, think again! Excessive heat can cause the material of your inflatable kayak to warp or even melt in extreme cases. It’s best to let nature do its job and allow air circulation around the kayak for natural drying.
Avoid Using Excessive Heat Sources Like Hairdryers
Using excessive heat sources such as hairdryers or heaters may seem like a quick solution for drying an inflatable kayak, but it can lead to irreversible damage. The high temperatures generated by these devices can weaken and distort the fabric of your kayak.
Opt for proper ventilation and air circulation instead of relying on artificial heat sources. Hang your deflated kayak in an area with good airflow, or lay it flat on a clean surface where it can naturally dry. Opening up all valves will help release any trapped moisture inside.
Remember that patience pays off. Even if it takes longer than expected, allowing the kayak to air dry naturally is the safest and most effective method.
Don’t Overlook Hidden Areas Where Moisture Might Accumulate
When drying your inflatable kayak, it’s essential not to overlook hidden areas where moisture can accumulate if not dried properly. Failing to address these areas can lead to mold growth, unpleasant odors, and potential damage.
Pay close attention to crevices, seams, and pockets within the kayak. These areas are prone to trapping moisture and may require extra care during drying. Use a towel or cloth to reach into these tight spots and ensure they are thoroughly dry.
Check any accessories or attachments that were removed from the kayak before drying. Items like seats, footrests, or storage bags may retain moisture if not dried separately. Take the time to dry each component thoroughly before storing them away.
By meticulously inspecting all nooks and crannies of your inflatable kayak and taking extra care with hidden areas, you can prevent future problems caused by residual moisture.
Learn More
How Often Should I Clean My Inflatable Kayak?
Regular cleaning is recommended after each use or at least once every few weeks if not used frequently. This helps prevent dirt build-up and maintains the kayak’s performance.
Can I Use A Hairdryer Or Heater To Speed Up Drying?
No, using excessive heat sources can damage the material of your inflatable kayak. It is best to allow it to air dry naturally.
Is It Necessary To Rinse My Inflatable Kayak With Fresh Water Before Drying?
Yes, rinsing off any saltwater or chemicals with fresh water helps prevent corrosion and ensures a clean surface for drying.
What Should I Do If I Notice Mold On My Inflatable Kayak?
If you spot mold on your inflatable kayak, clean it immediately using a mild detergent or vinegar solution. Follow the step-by-step guide mentioned earlier to ensure proper cleaning and drying techniques are applied.
Final Words
Achieving the right level of dryness is key to preventing any moisture-related issues. So ensure that all parts of your kayak are completely dry before storing it away. And pay close attention to seams, valves, and corners, as these areas tend to retain moisture.