Are stubborn stains ruining the sleek appearance of your beloved kayak? It can be a real problem – affecting both its appearance and functionality. Over time, these residues can compromise the integrity of your vessel, leading to costly repairs or even replacement.
But how to remove stains from a kayak? In short, regular maintenance is key to avoiding such headaches. But for now, don’t let those unsightly marks hold you back from enjoying your time on the water.
Removing stains is not only about aesthetics; it’s crucial for maintaining your kayak’s performance and resale value. UV rays, invasive species, and years of storage can leave behind stubborn residues that need immediate attention. But fret not!
Let’s dive right in!
Contents
Understanding Algae Stains on A Kayak
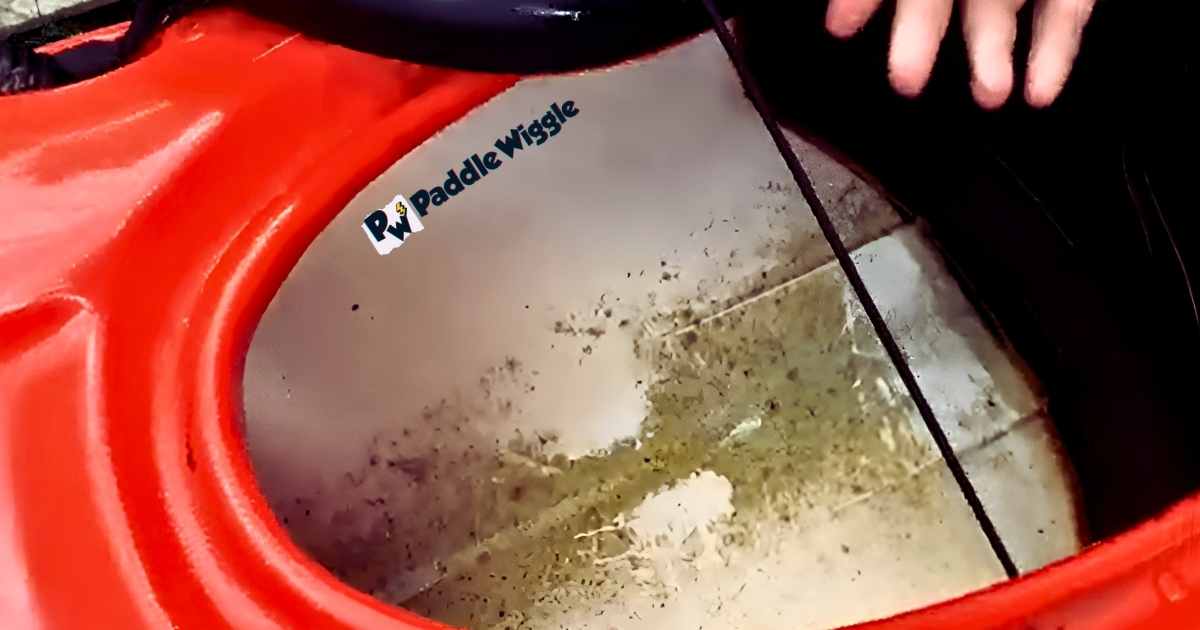
Algae stains can be a common problem for kayak owners, especially if their kayaks spend a lot of time in the water. Algae love moist environments and can attach themselves to the kayak’s hull, leaving unsightly stains and bad smells.
Here are some important things to know about algae stains and how to deal with them:
Stains result from prolonged exposure to water
When your kayak stays in the water long, it becomes a target for algae growth. Algae stick to the hull and create those stains we don’t want to see.
Discoloration and odor
Algae can turn your kayak green, brown, or black. They release an unpleasant smell that clings to your kayak as they break down.
Preventing future stains
Knowing why algae stains happen can help you prevent them. Warm temperatures, stagnant water, and not cleaning your kayak properly contribute to algae growth.
Different algae, different stains
Some types of algae cause tougher stains than others. Understanding these differences can help you choose the right cleaning methods.
To keep your kayak looking good and odor-free, it’s important to clean and maintain the hull regularly. You can enjoy your kayaking adventures without those annoying algae stains by taking care of your kayak and using proper cleaning techniques.
Remember: Inspect your kayak regularly to avoid stubborn algae stains. This helps you spot and fix any repair issues too.
Now that you know about algae stains, let’s explore some practical tips for effectively removing them.
Step-by-Step Guide to Removing Algae Stains From A Kayak
You might have experienced the annoyance of algae stains on your kayak. These stains can make your beautiful kayak look not so pretty anymore and even smell bad.
So, here we’ve got you covered with a simple and easy-to-follow guide to remove those algae stains from your kayak.
Let’s get started on making your kayak look fresh and clean again!
Gather the supplies you’ll need
Get mild dish soap or a kayak cleaner, a soft sponge or cloth, water, and a soft-bristle brush (optional). For tougher stains, you may need vinegar or bleach. If you want to add a finishing touch, you can use wax or polish.
So, you’ll need:
- Mild dish soap or kayak cleaner
- Soft sponge or cloth
- Water
- Soft-bristle brush (optional)
- Vinegar or bleach (optional for tougher stains)
- Wax or polish (for finishing, if desired)
Assess the type of stain
Before cleaning, identify the type of stain on your kayak, such as dirt, algae, oil, rust, or scuff marks. Different stains may need different cleaning methods.
Pre-rinse
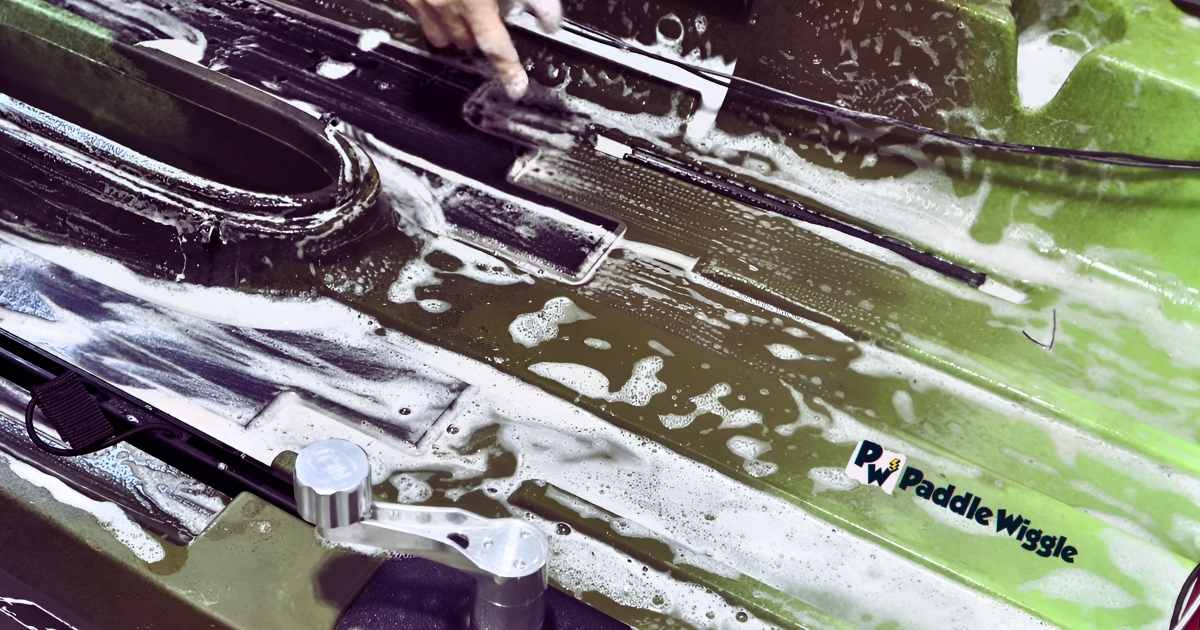
Start by rinsing your kayak with water to remove loose debris and dirt. You can use a hose or a bucket of water for this. Pre-rinsing helps make the cleaning process more effective.
Prepare the cleaning solution
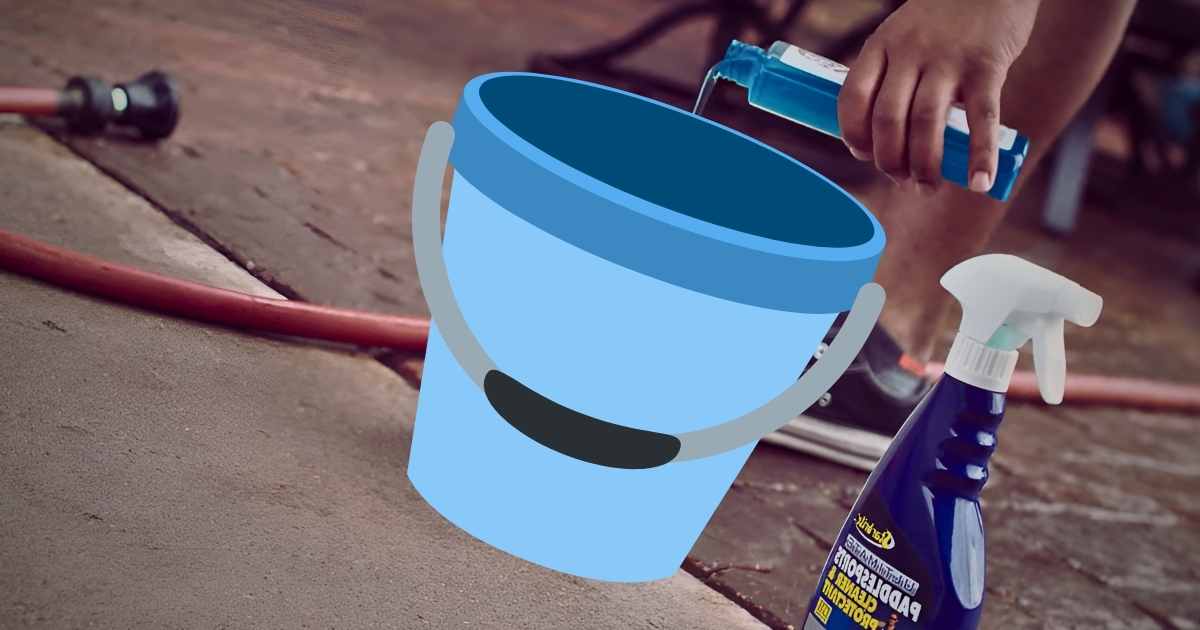
Fill a bucket with warm water and add a small amount of mild dish soap or kayak cleaner. If you have a specific kayak cleaning product, follow the instructions on the label.
Clean the stains
Dip a soft sponge or cloth into the cleaning solution and gently scrub the stained areas on your kayak. For tougher stains, use a soft-bristle brush carefully to avoid scratching the surface. Work on small sections and apply gentle pressure.
Rinse thoroughly
After cleaning, rinse your kayak thoroughly with clean water to remove any traces of the cleaning solution.
Treat tougher stains (optional)
You can use vinegar or bleach if you have persistent or tougher stains like rust or algae. Dilute either vinegar or bleach in water according to the product instructions and apply the solution to the stained areas. Let it sit for a few minutes, then gently scrub before rinsing thoroughly.
Dry the kayak
Use a clean towel to dry your kayak, or let it air dry completely before proceeding to the next step.
Apply wax or polish (optional)
You can apply a layer of wax or polish designed specifically for kayaks for extra protection and a polished look. Follow the product instructions for application and buff your kayak to shine.
Tackling Dirt Stains on Your Kayak
Dirt stains are inevitable when kayaking in muddy or dirty waters. To keep your kayak looking pristine, follow these simple steps to remove dirt stains from its surface:
Gentle scrubbing with mild soap and water
Mix boat soap with water to create a soapy solution. Use a soft brush or towel to scrub the stained areas gently. This method is effective for removing most dirt stains without causing damage to the kayak’s finish.
Avoid abrasive cleaners
It’s important to steer clear of abrasive cleaners that can harm the hull of your kayak. Stick to mild soap and water or specialized cleaning products designed specifically for removing dirt stains.
Consider specialized cleaning products
If regular soap doesn’t do the trick, try using cleaning products specifically formulated for tackling tough dirt stains on kayaks. These products are often more potent and can help remove stubborn grime and debris.
Spot cleaning
For little stains or isolated spots, you can use wipes or a damp rag soaked in soapy water to target specific areas of concern.
Protect your kayak during storage
To prevent future stains, consider covering your kayak with a tarp when not in use. This will shield it from dust, dirt, and other elements that could mar its surface.
3 Natural Stain Removing Tricks for Kayaks
Our kayaks can get stained and lose their shiny look over time when we go kayaking. Sometimes, you don’t need harsh chemicals to make them look nice again. Nature has some fantastic tricks for us!
Here, we’ve included 3 easiest natural ways to remove stains from kayaks.
#1 Baking Soda and Vinegar Paste
Baking Soda and Vinegar Paste is a natural and effective method for removing stains from your kayak.
Here’s how it works:
Mixing the Paste: First, you need to create a paste by combining baking soda and vinegar. Baking soda is a mild abrasive with natural cleansing properties, while vinegar is acidic and helps break down stains.
Applying the Paste: Once the paste is ready, apply it directly to the stained areas of your kayak. Spread a generous layer of the paste over the stains to ensure good coverage.
Allowing it to Sit: After applying the paste, let it sit on the stained areas for approximately 15 minutes. During this time, the paste loosens and dissolves the stains, making them easier to remove.
Gentle Scrubbing: Use a soft brush or sponge to scrub the stained areas after the waiting period gently. The baking soda in the paste acts as a gentle abrasive, helping lift the stains from the kayak’s surface.
Rinsing Off: Finally, rinse off the paste and the loosened stains with water. Make sure to rinse the kayak to remove any remaining residue thoroughly.
#2 Lemon Juice
Lemon Juice is a simple and natural solution for tackling stains on your kayak. Here’s how it works:
Applying Lemon Juice: Start by squeezing fresh lemon juice directly onto the stained areas of your kayak. Lemon juice contains natural acids as gentle yet effective cleaning agents.
Allowing it to Sit: After applying the lemon juice, let it sit on the stains for a few minutes. During this time, the acidity in the lemon juice works to break down and dissolve the stains.
Gentle Scrubbing: Once the lemon juice has had time to work its magic, gently scrub the stained areas with a soft brush or sponge. The combination of the lemon’s natural acidity and the physical scrubbing action helps lift the stains from the kayak’s surface.
Breaking Down Stains: The natural acidity of lemon juice helps break down various types of stains, such as algae, dirt, or watermarks, making them easier to remove.
Thorough Rinsing: After scrubbing the stains, thoroughly rinse your kayak with water to wash away the lemon juice and the loosened stains. Make sure to rinse all areas to prevent any lemon residue from remaining on the kayak.
#3 Toothpaste and Aluminum Foil Combo
The Toothpaste and Aluminum Foil Combo is a clever and handy method for tackling specific types of stains on your kayak. Here’s how it works:
Applying Toothpaste: Begin by applying non-gel toothpaste directly to the stained areas of your kayak. Toothpaste contains mild abrasives and cleaning agents that can help lift certain types of stains.
Covering with Aluminum Foil: After applying the toothpaste, cover it with crumpled aluminum foil. When rubbed over the stain, the foil helps create a gentle abrasive surface, enhancing the cleaning process.
Rubbing Gently: Using circular motions, gently rub the crumpled aluminum foil over the stain. The combination of toothpaste and aluminum foil works together to effectively target and remove specific types of stains.
Removing Specific Stains: The Toothpaste and Aluminum Foil Combo is particularly useful for stains like scuff marks or some persistent discolorations. The abrasive action of the foil, combined with the cleaning agents in the toothpaste, can effectively lift and break down these types of stains.
Thorough Rinsing: After rubbing the stained areas, make sure to thoroughly rinse your kayak with water to wash away the toothpaste and any loosened stains. Rinse all areas to ensure no residue remains.
Top Stains Removing Solutions for Kayak
Are stubborn stains like algae, dirt, or scuff marks leaving you wondering how to restore the allure of your kayak?
If so, STOP worrying now!
To help you out with this, we’ve prepared a list of the top 3 stain-removing solutions for kayaks.
Meguiar’s Heavy-Duty Oxidation Remover
This magic solution is perfect for getting rid of tough stains and making your kayak’s fiberglass surface look new again. It works wonders on kayaks with stubborn stains and makes them shine like never before, so you’re all set for your next fun adventure.
- Designed to tackle tough stains and restore the shine of fiberglass surfaces.
- Ideal for kayaks with heavy oxidation or stubborn stains.
Boat Bling Hot Sauce Spot Remover
This special formula is like a superhero for your kayak! It targets water spots, mineral deposits, and other stains on the boat’s surface. And guess what? It also works wonders on your kayak, removing tough stains and keeping it spotless and looking brand new.
- Specifically formulated to target water spots, mineral deposits, and other stains on boat surfaces.
- It can be used on kayaks to remove tough stains and bring back the shine.
MaryKate On and Off Hull and Bottom Cleaner
This superhero cleaner is super safe to use on your kayak’s fiberglass and gel coat surfaces. It’s perfect for getting rid of waterline stains, scum lines, and other tough stains on your kayak’s hull and bottom. With this superhero cleaner, your kayak will always look amazing, and be ready for your next paddling adventure.
- Safe for use on fiberglass and gel coat surfaces.
- Great for removing waterline stains, scum lines, and other tough stains on the hull and bottom of your kayak.
Learn More
What Are The Common Types Of Stains That Can Occur On A Kayak?
Common types of stains on a kayak include algae, dirt, water spots, and scuff marks. You can remove them using natural remedies like lemon juice or baking soda or use kayak-specific cleaning products.
How Often Should I Clean My Kayak To Prevent Stains From Becoming Stubborn?
Cleaning your kayak regularly, at least once a month, can help prevent stains from becoming stubborn. However, the frequency may vary depending on usage and environmental conditions.
Is It Safe To Use Heavy-Duty Stain Removers On My Kayak, And How Can I Avoid Damaging The Kayak’s Surface?
It’s generally safe to use heavy-duty stain removers on kayaks, but always check the product label for compatibility with your kayak’s material. Avoid leaving the stain remover on for too long to prevent damage.
How Do I Know If A Stain Is Too Tough To Remove, And When Should I Seek Professional Help Cleaning My Kayak?
If a stain persists after using various cleaning methods, removing yourself may be too tough. Consider seeking professional help, especially if the stain is deeply embedded or the kayak’s surface is delicate.
Final Words
To keep your kayak stain-free and protected, cleaning and maintaining it regularly is important. Taking a proactive approach to cleaning can prevent stains from getting really tough, making it easier to clean your kayak. Keeping your kayak in good condition will look nice and last longer when you’re out on the water. So, don’t forget to give your kayak some TLC (tender loving care) to keep it looking great and performing at its best!