If you’re looking to give your kayak a fresh look or customize its appearance, you might be wondering whether you can spray paint it. The good news is that you can indeed spray paint a kayak.
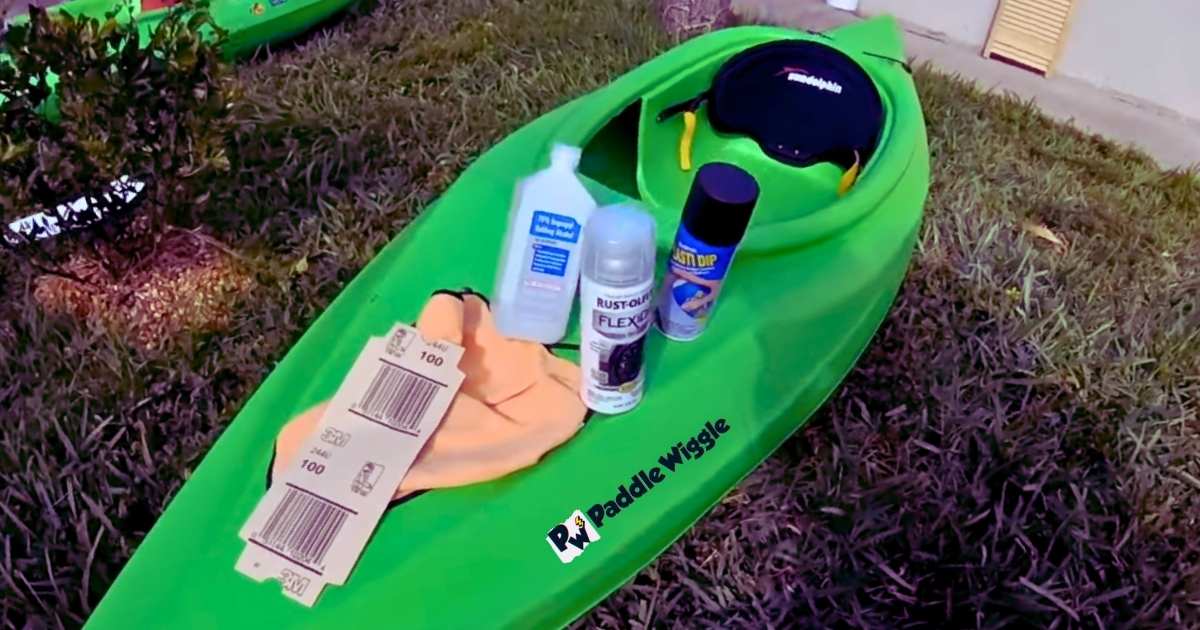
Spray painting a kayak can refresh its appearance and extend its life. Start by thoroughly cleaning the kayak to remove stains, dirt, and grime. Sand the surface to create a rough texture for better paint adhesion. Use a primer designed for plastics to ensure the paint sticks well.
But there are other important considerations to ensure a successful result.
So we’ve put together this guide. This will walk you through the essential steps and tips for spray painting your kayak, helping you enhance its look while maintaining its performance and longevity.


Contents
Spray Painting Techniques
Spray painting a kayak can give it a fresh, vibrant look and extend its life. Mastering the right spray painting techniques ensures a smooth, professional finish. Below are some essential techniques to keep in mind.
Applying Thin Coats


Applying thin coats is crucial for a smooth and even finish. Thick layers can cause runs and uneven coverage. Follow these steps for the best results:
- Shake the spray can well to mix the paint properly.
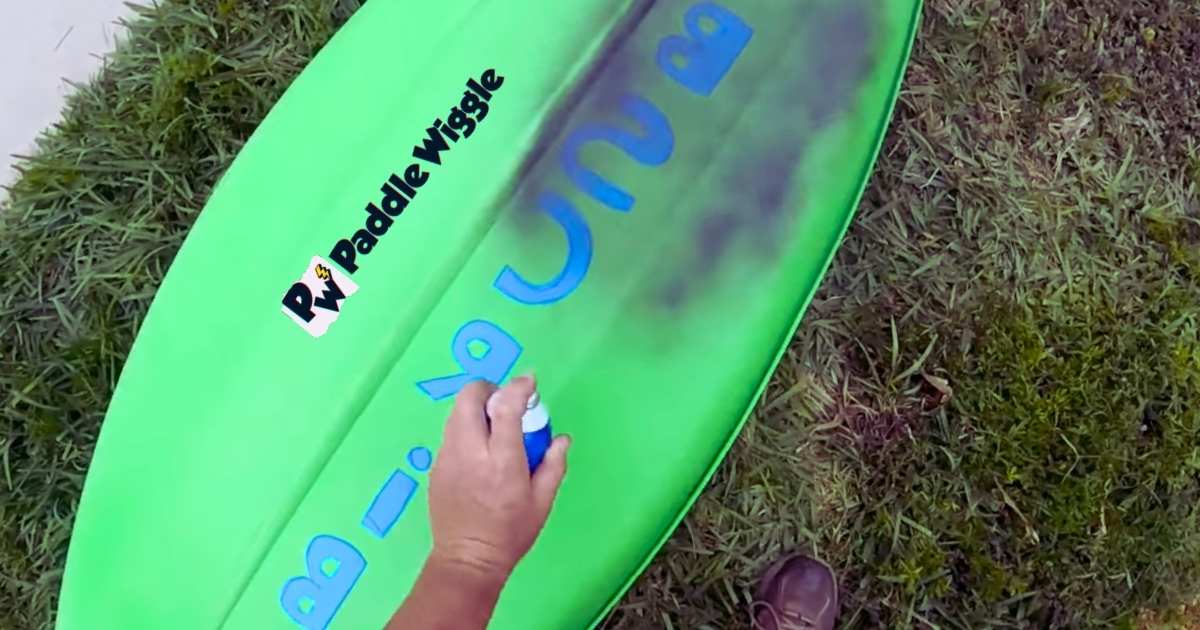
- Hold the can 8-12 inches away from the kayak surface.
- Use a sweeping motion to apply the paint evenly.
- Let each coat dry for at least 10-15 minutes before applying the next one.
Applying thin coats helps the paint adhere better and reduces the risk of drips and runs. Repeat these steps until you achieve the desired coverage.
Here’s a quick comparison between thin and thick coats:
| Thin Coats | Thick Coats |
| Even Coverage | Uneven Coverage |
| Better Adhesion | Possible Drips |
| Professional Finish | Messy Look |
Maintaining Proper Distance
Maintaining the proper distance between the spray can and the kayak is vital for a smooth finish. Holding the can too close or too far can cause issues. Here are some tips:
- 8-12 inches is the ideal distance. This ensures even distribution of the paint.
- Holding the can too close can cause the paint to pool and create drips.
- Holding the can too far can result in a thin, uneven coat.
Maintaining the right distance helps in achieving a smooth, even coat. Adjusting your spray technique according to the surface contours of the kayak also matters.
Pro Tip: Practice your spraying technique on a piece of cardboard before starting on the kayak.
Take a look at the impact of proper distance:
| Proper Distance | Too Close | Too Far |
| Even Coating | Paint Pools | Thin, Uneven Coat |
| Professional Finish | Drips and Runs | Poor Coverage |
Avoiding Drips And Runs
Avoiding drips and runs is a common concern when spray painting a kayak. Following the right steps can help prevent these issues:
- Apply thin coats as discussed earlier.
- Maintain proper distance to ensure even distribution.
- Avoid staying too long in one spot. Keep moving the spray can.
- Allow adequate drying time between coats.
Drips and runs can ruin the kayak’s appearance and require extra sanding and repainting. By following these steps, you can achieve a smooth, professional look.
Here’s a quick tip to fix drips and runs:
Lightly sand the affected area once dry and reapply a thin coat of paint.
Summary of tips to avoid drips and runs:
- Apply thin coats.
- Maintain proper distance.
- Keep moving the spray can.
- Allow drying time between coats.
Tips For A Successful Spray Paint Job


Spray painting a kayak can refresh its look and prolong its life. To achieve a sleek, durable finish, follow some essential tips. These guidelines ensure your kayak looks professional and stands the test of time.
Working In A Well-ventilated Area
Always spray paint in a well-ventilated area. Proper ventilation prevents inhaling harmful fumes. It also ensures the paint dries evenly.
Set up your workspace outdoors if possible. If you must work indoors, open windows and use fans to increase airflow. Here are some tips:
- Choose a location away from direct sunlight to avoid quick drying.
- Keep the area free from dust and debris.
- Use drop cloths to protect surrounding surfaces.
Ventilation helps in achieving an even coat. It also reduces the risk of health issues from inhaling fumes.
Using Protective Gear
Wearing protective gear is crucial for safety. Spray paints contain chemicals that can be harmful if inhaled or come into contact with skin.
Here’s a list of essential protective gear:
- Respirator Mask: Protects your lungs from harmful fumes.
- Gloves: Keeps your hands clean and safe from chemicals.
- Safety Glasses: Shields your eyes from paint splatters.
- Long-Sleeved Clothing: Protects your skin from overspray.
Using the right gear ensures you stay safe while working on your project. It also helps you focus better, knowing you’re protected.
Testing The Paint On A Small Area


Before painting the entire kayak, test the paint on a small area. This step helps you see how the paint adheres to the surface and its final color.
Steps to test the paint:
- Choose a small, inconspicuous area on the kayak.
- Apply a thin coat of paint.
- Allow it to dry completely.
- Check for adhesion, color consistency, and smoothness.
If the test area looks good, proceed with painting the entire kayak. Testing prevents potential issues like poor adhesion or an undesirable color.
Caring For A Spray Painted Kayak


Spray painting a kayak can give it a fresh, personalized look. But keeping that new look requires proper care. Caring for a spray-painted kayak ensures that the colors remain vibrant and the paint stays intact for longer. Here’s how you can maintain your spray-painted kayak.
Regular Cleaning And Maintenance
Regular cleaning and maintenance are crucial for a spray-painted kayak. Dirt, algae, and other debris can dull the paint. Cleaning your kayak after each use keeps it looking new.
Follow these steps:
- Rinse the kayak with fresh water.
- Use a mild soap and a soft sponge to clean the surface.
- Rinse off the soap with water.
- Dry the kayak with a clean towel.
Never use harsh chemicals or abrasives. They can damage the paint. Instead, opt for gentle cleaning solutions. A mild soap works best for removing dirt and grime. Here’s a simple cleaning schedule:
| Activity | Frequency |
| Rinsing with Water | After Every Use |
| Full Cleaning with Soap | Weekly |
Regular maintenance also includes checking for any damage. Inspect the kayak for cracks or chips in the paint. Fixing small issues early prevents bigger problems later.
Avoiding Scratches And Abrasions
Scratches and abrasions can ruin the look of your spray-painted kayak. Take steps to avoid them. Here are some tips:
- Store the kayak properly. Keep it off the ground to prevent scratches.
- Use a kayak cover for extra protection.
- Handle the kayak with care. Avoid dragging it on rough surfaces.
Transporting your kayak can also lead to scratches. Use foam padding or a kayak rack for safe transport. When launching, be gentle. Avoid rocky or sharp areas. Launching from sandy or grassy spots is best.
Avoiding abrasions is also important. Abrasions can happen during use. Paddle in deeper water to avoid scraping the bottom. If you notice any rough spots, sand them lightly. Then, touch up the paint as needed. This keeps the kayak looking great and extends the life of the paint job.
Frequently Asked Questions
What Paint To Use On A Plastic Kayak?
Use marine-grade paint or Krylon Fusion for plastic kayaks. These paints adhere well and withstand water exposure. Check out this guide for details on painting a plastic kayak.
Can You Change The Color Of A Kayak?
Yes, you can change the color of a kayak. Use marine-grade paint for the best results. Sand and clean the surface first.
How Long Will Spray Paint Last On A Boat?
Spray paint on a boat typically lasts 2-5 years. Longevity depends on quality, application, and environmental exposure. Regular maintenance extends its lifespan.
Final Words
Spray painting a kayak is possible with the right preparation and materials. Ensure you follow the proper steps and use suitable paint. This can give your kayak a fresh, customized look. Always prioritize safety and environmental considerations.


