Mold and mildew crept into every nook and cranny, leaving behind unwanted odors! Not exactly the kind of experience you were hoping for. In this situation, cleaning the inside of your kayak is key to maintaining its performance and longevity.
A clean interior ensures a hygienic paddling experience and contributes to your overall enjoyment. No one wants their exciting escapade ruined by foul smells or unexpected health hazards.
In this guide, we’ll explore the best and easiest way to clean the inside of a kayak. Now, let’s dive in!
Contents

The best way to clean the inside of a kayak
Cleaning the inside of your kayak is essential to maintain its appearance, prolong its lifespan, and ensure a pleasant paddling experience. With the right techniques and tools, you can easily remove dirt, grime, and stains without causing any damage. And regular cleaning not only helps preserve the longevity of your kayak but also keeps it hygienic for your next adventure.
Here’s a step-by-step guide to effectively clean the inside of your kayak.
Step #1 Gather Your Supplies
Before you begin, gather all the necessary supplies for the cleaning process. Having the right tools will make the cleaning process more efficient and ensure you can complete the job thoroughly.
Here’s what you will need:
Mild Detergent or Kayak Cleaner
The first item on your list is a mild detergent or a specialized kayak cleaner. Avoid using harsh chemicals, as they can damage the kayak’s material. Opt for a gentle, environmentally friendly cleanser that is safe for use on plastics, polyethylene, or composite materials commonly found in kayaks. You can find kayak-specific cleaners at outdoor or boating stores.
Soft Sponge or Cloth
A soft sponge or cloth is essential for scrubbing away stains and grime without scratching or damaging the kayak’s interior. Look for a non-abrasive sponge or a microfiber cloth that is gentle on the surface yet effective in cleaning.
Scrub Brush with Soft Bristles
In addition to the soft sponge or cloth, a scrub brush with soft bristles is handy for tackling tougher stains and hard-to-reach areas. The soft bristles will help you remove dirt without causing any scratches or marks on the kayak’s surface.
Water Hose or Bucket Filled with Water
You’ll need a water source to rinse off the cleaning solution and wash away dirt and debris. If you have access to a water hose, that’s convenient, as it allows for a steady flow of clean water. Alternatively, you can use a bucket filled with water for rinsing.
Towels or Rags for Drying
After cleaning and rinsing, you’ll need towels or rags to thoroughly dry the kayak’s interior. Drying is crucial to prevent mold growth and keep your kayak in optimal condition for future adventures.
Step #2 Remove Dirt and Debris
Start by removing any loose dirt, sand, or debris from the interior of your kayak. Use a brush with soft bristles to gently sweep away any particles that may have accumulated.
Step #3 Prepare Your Cleaning Solution
After you have removed the loose dirt and debris from the inside of your kayak, it’s time to prepare the cleaning solution. Now, create a mixture of mild detergent or kayak cleaner with warm water in a bucket.
Remember to avoid using harsh chemicals that can damage your kayak’s material. If you are unsure about this, check the manufacturer’s recommendations and cleaner’s packaging for proper dilution ratios.
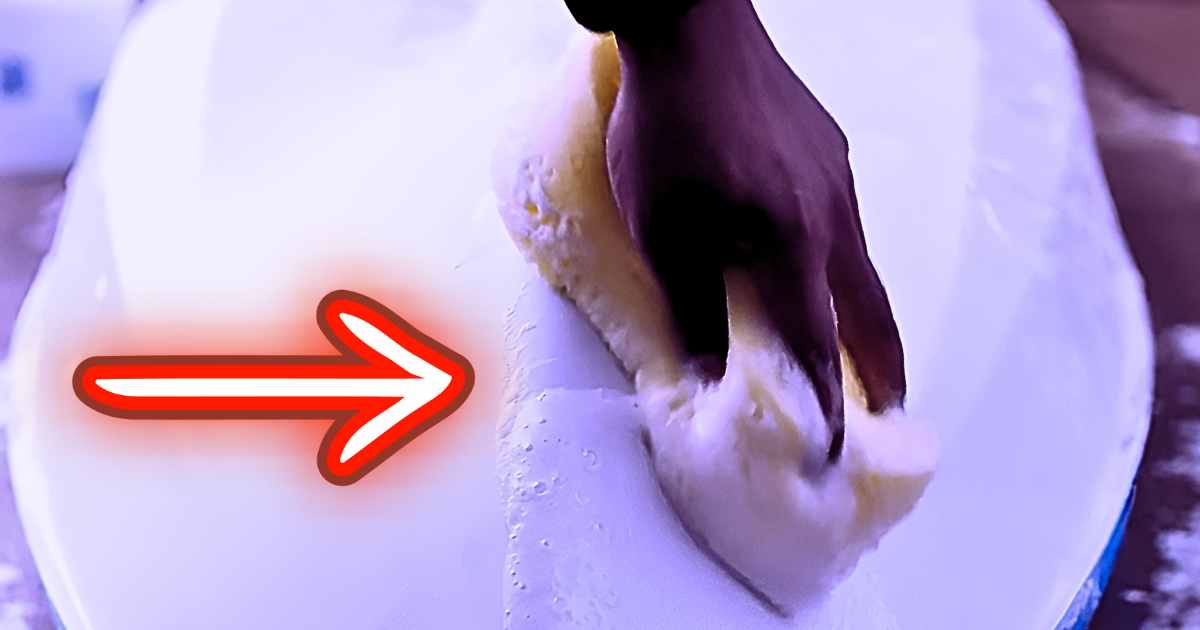
Step #4 Scrub Away Stains and Grime
Now that you have prepared your cleaning solution, it’s time to tackle the stains and grime inside your kayak. This step involves using a soft sponge or cloth dipped in the cleaning solution to gently scrub away any stubborn dirt, stains, or grime clinging to your kayak’s interior surface. Here’s a more detailed explanation of how to effectively scrub away stains and grime:
Soak the Sponge or Cloth
Dip a soft sponge or cloth into the cleaning solution, making sure it absorbs enough of the solution to create a lather. The soapy lather is what will work to break down and lift away the dirt and stains.
Be Gentle and Patient
Approach the cleaning process with a gentle and patient mindset. Avoid using excessive force or aggressive scrubbing, as this may cause unnecessary wear and tear on the kayak’s surface. Allow the cleaning solution to do the work, and gently scrub away the stains and grime.
Focus on High-Buildup Areas
Pay extra attention to areas that tend to accumulate more dirt and grime, such as footwells and seat areas. These spots often receive more contact and are more likely to show signs of wear. Thoroughly clean these areas to ensure a fresh and clean interior.
Check for Discoloration
As you clean, keep an eye out for any discoloration or fading of the kayak’s material. If you notice any changes in color or texture, adjust your cleaning technique or consider using a milder cleaning solution to avoid damaging the kayak’s surface.
Use the Soft Bristles of the Scrub Brush
For tougher stains or hard-to-reach areas, you can utilize the soft bristles of the scrub brush. Remember to be gentle with the brush, ensuring that it doesn’t cause any scratches or marks on the kayak’s interior.
Rinse the Sponge or Cloth Frequently
To prevent spreading dirt around, rinse the sponge or cloth frequently in clean water while cleaning. This helps ensure that you are using a clean and effective tool as you go.
Take Your Time
Scrubbing away stains and grime requires time and effort, especially if there are stubborn spots. Be patient and take your time to ensure a thorough cleaning job.
Focus on the Details
Don’t overlook the smaller details like cup holders, mesh pockets, or any other nooks and crannies inside the kayak. These areas can also accumulate dirt and require attention during the cleaning process.
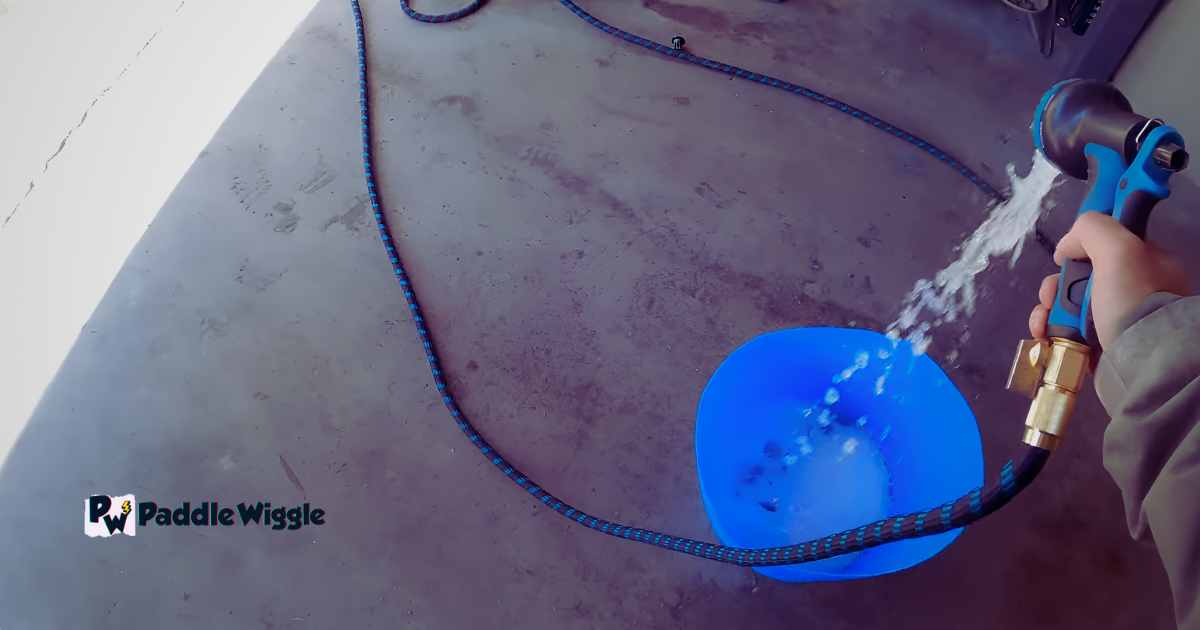
Step #5 Rinse Thoroughly
After scrubbing, rinse off the cleaning solution thoroughly with clean water. If available, You can use a water hose or fill another bucket with fresh water and pour it over the kayak’s interior.
Here’s what you need to check:
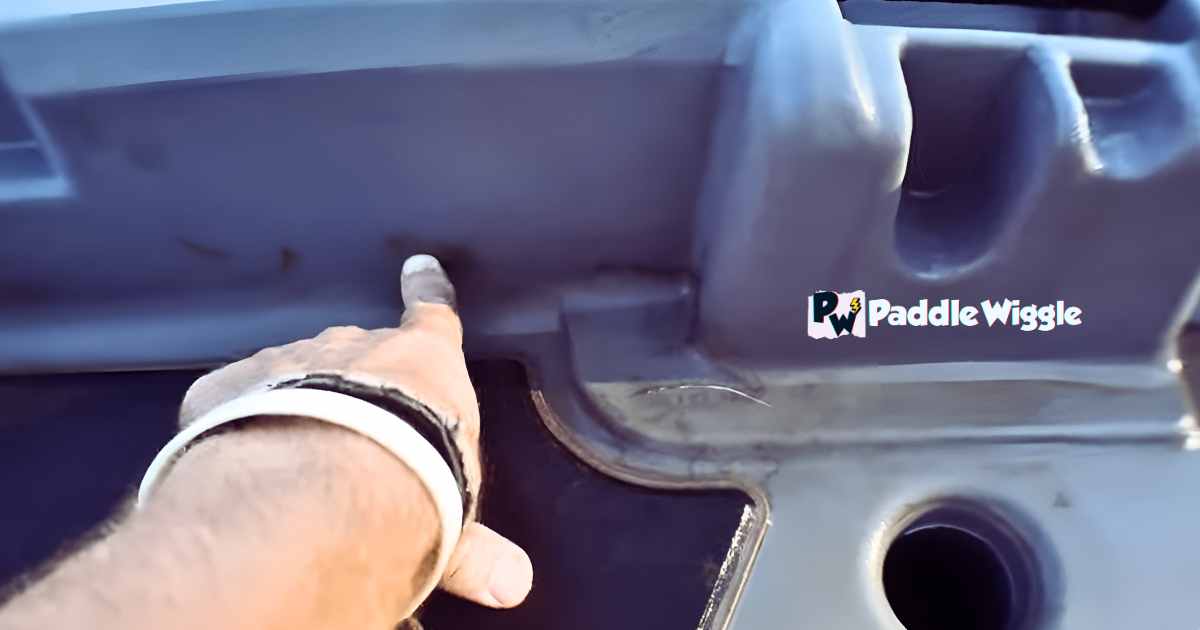
Pay Attention to Corners and Crevices
While rinsing, pay extra attention to corners, crevices, and other hard-to-reach areas where soap or cleaner might linger. Use your hands or a sponge to ensure all the nooks and crannies are thoroughly rinsed.
Check for Bubbles
Look for bubbles or foamy areas while rinsing. If you notice any, it indicates that some cleaning solution is still present. Continue rinsing until all the bubbles are gone.
Repeat Rinsing if Necessary
If you used a considerable amount of cleaning solution or had particularly stubborn stains, you might need to repeat the rinsing process to ensure complete removal of the cleaning agent.
Thoroughly Empty Any Standing Water
After rinsing, check for any standing water inside your kayak. Tip the kayak to drain out any water that may have accumulated. You want to make sure the interior is as dry as possible before moving on to the next step.
Step #6 Dry Completely

After completing the rinsing process, it’s time to dry your kayak. This will prevent moisture buildup and potential mold growth. You can use towels or rags.
As you dry, pay attention to any lingering dampness. Leave your kayak out in the sun or a well-ventilated area. Sunlight and air circulation help speed up the drying process and ensure all moisture evaporates.
Just ensure there is no moisture left behind, as this can lead to mold growth over time.
Step #7 Inspect for Lingering Odors
Take a moment to inspect your kayak for any lingering odors. If you notice any unpleasant smells, consider using a kayak-specific deodorizer or a natural solution like a mixture of vinegar and water to neutralize the odor.
Maintain a Regular Cleaning Schedule
To keep your kayak in optimal condition, establish a regular cleaning schedule. Depending on how often you use your kayak, aim to clean the interior at least once every few months or more frequently if needed.
5 Tips for Effectively Cleaning The Inside of Kayaks
Selecting the appropriate cleaning solution for your kayak’s interior can be overwhelming.
Let’s dive into some key considerations to help you make the right choice.
#1. Assessing the Material
Before choosing a cleaning solution, it’s crucial to determine what type of material your kayak’s interior is made of. Different materials may require specific cleaning agents or methods to avoid damage. Most kayaks have interiors made of either polyethylene plastic or fiberglass.
- For polyethylene kayaks: These are generally more durable and resistant to scratches but can be prone to oil stains and discoloration. A mild soapy water solution using warm water is usually sufficient for routine cleaning.
- For fiberglass kayaks: Fiberglass interiors are more susceptible to scratches but offer a smoother surface. A gentle cleaner specifically designed for fiberglass, combined with warm water, should do the trick.
#2. Mild Solutions and Damp Cloth
For routine cleaning, it’s best to start with mild solutions and a damp cloth:
- Dilute a small amount of gentle soap in clean water.
- Wet a soft cloth or sponge in the soapy water solution.
- Gently wipe down the interior surfaces of your kayak.
- Rinse off any soap residue with clean water.
Using this method helps remove dirt, grime, and salt buildup without causing damage.
#3. Dealing with Stubborn Stains
Sometimes, you may encounter stubborn stains that require extra attention:
- Create a paste by mixing baking soda with warm water.
- Apply the paste directly onto the stain.
- Allow it to sit for a few minutes before scrubbing it gently with a soft brush or sponge.
- Rinse thoroughly with clean water.
This technique works well for removing tough stains without harming your kayak’s interior.
#4. Avoiding Pressure Washers
While pressure washers can be effective for cleaning the exterior of your kayak, they should generally be avoided for the interior. The high-pressure water can seep into small crevices and damage sensitive areas such as bulkheads or hatches. Stick to manual cleaning methods to ensure the longevity of your kayak.
#5. Preventing Mildew Growth
Kayaks are often exposed to moisture, which creates an ideal environment for mildew growth. To prevent this:
- After each use, thoroughly dry the interior of your kayak with a towel or allow it to air dry in a well-ventilated area.
- Store your kayak away from direct sunlight and excessive humidity.
- Consider using a silicone spray on rubber seals and gaskets to maintain their effectiveness.
Learn More
How Often Should I Clean The Inside Of My Kayak?
Cleaning the inside of your kayak is an essential part of its maintenance. It would be best if you cleaned the interior after every use to prevent dirt, debris, and odors from accumulating. Regular cleaning will help prolong the lifespan of your kayak and ensure a more enjoyable paddling experience.
How Can I Prevent Mold And Mildew From Forming Inside My Kayak?
Properly drying your kayak after each use and storing it in a well-ventilated area can help prevent mold and mildew growth. Using UV protectant sprays can inhibit their development.
Can I Use Bleach To Clean My Kayak’s Interior?
While bleach is effective in killing bacteria and removing stains, it is not recommended for cleaning the inside of a kayak. Bleach can be harsh on kayak materials and may cause discoloration or damage. Sticking to mild detergents or cleaners specifically designed for kayaks is best.
Can I Use A Pressure Washer To Clean The Inside Of My Kayak?
Using a pressure washer is not recommended for cleaning the inside of a kayak. The high-pressure water can damage the kayak’s materials and potentially compromise its structural integrity. Stick to gentle cleaning methods using brushes, sponges, and mild cleaners.
Are There Any Special Considerations When Cleaning Fishing Kayaks?
Fishing kayaks often have additional equipment and accessories that require attention during cleaning. Before cleaning, remove any removable parts, such as seats, rod holders, or storage compartments. Clean these separately and thoroughly dry them before reattaching them to your kayak.
Final Words
Cleaning the inside of your kayak doesn’t have to be daunting. Following those steps ensures that your kayak remains in top condition for your next adventure. Make sure you pay attention to problem areas, rinse thoroughly with fresh water, and allow the interior to dry completely.